

1vX.gg
All Guides
Boss GuideCrystal of Atlan

Maze of the Deep Dive

An 8-player raid featuring branching routes with different difficulty levels.

Bosses
4
Phases
8
Mechanics
27

An 8-player raid featuring branching routes with different difficulty levels. The right path offers easier bosses while the left path presents harder challenges. Requires coordinated team splits and mastery of orb, tentacle, and elemental mechanics.

Maze of the Deep Dive
youtu.be
Power requirementsNullification
DifficultyPhase 1Phase 2Phase 3
Solo7,0007,4007,800
Elite7,4007,8008,200
Legend7,6008,0008,400

Tentacle Guardian

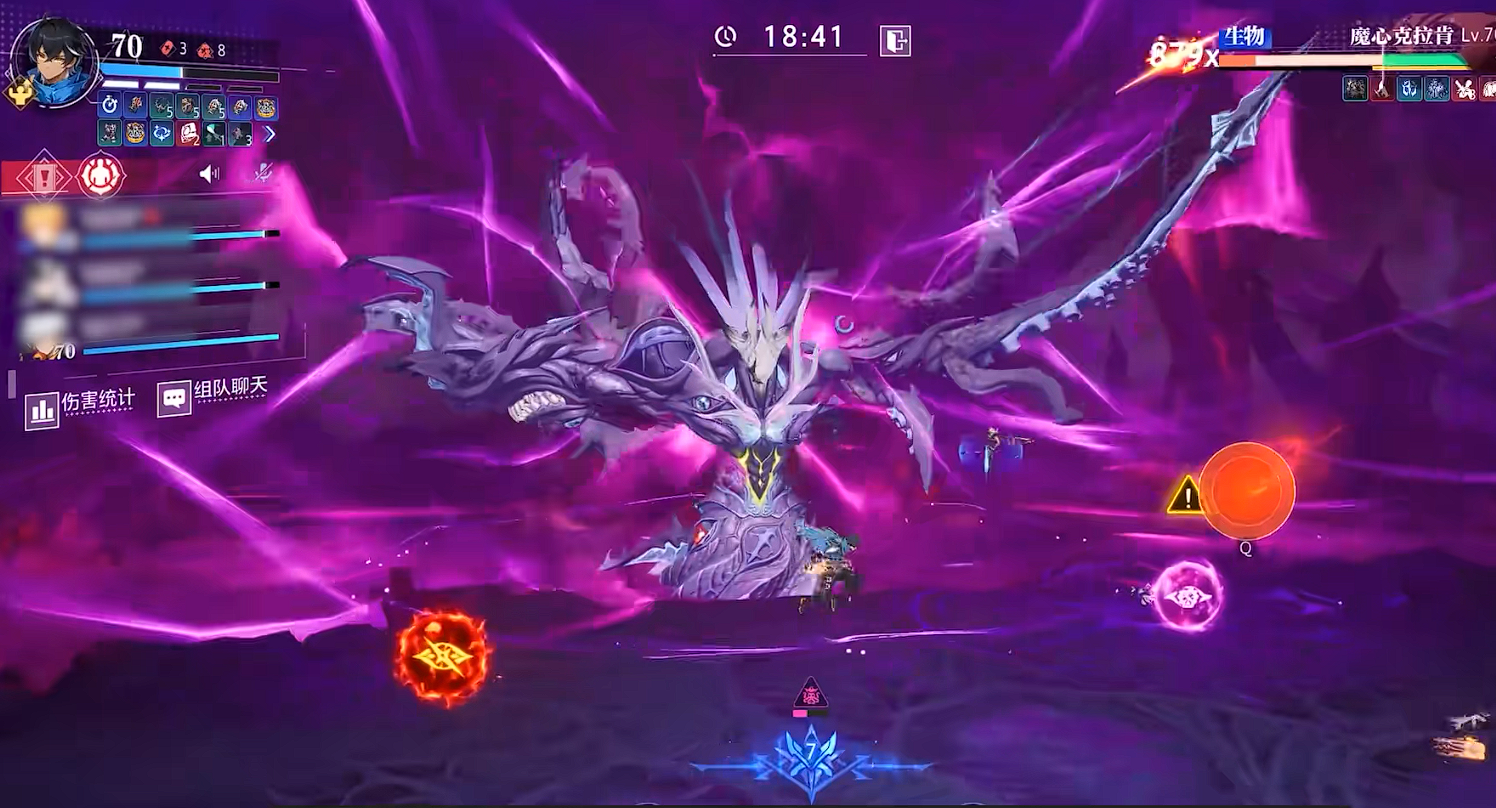
First boss featuring orb mechanics and poison phases. Players must stay airborne to avoid shockwaves while managing blue and purple orbs that spawn throughout the fight.

Orb Management Phase

5 Dangerous7 Mechanics6 Tips

HP: 100% 0%

Handle blue and purple orbs while avoiding shockwaves. Purple energy gauge management is critical.

Dangerous Mechanics

Ground Shockwaves

The boss frequently creates shockwaves under players. Stay airborne (mid-air) whenever possible to avoid damage.
Watch outDangerous mechanic — mistiming this can be lethal.

Purple Orb (Large)

Large orbs requiring 2 players. Two players must stand on opposite sides to break the connection and destroy the orb.
Watch outDangerous mechanic — mistiming this can be lethal.

Orb Destruction Mechanic

When approaching an orb, tentacles grab the player and disable skills/dodge. Keep moving to stretch the tentacle. When it breaks, immediately attack the orb and destroy it before time runs out. If you fail, the orb reactivates and you must repeat.
Watch outDangerous mechanic — mistiming this can be lethal.

HP Threshold Orb Spawn

At certain HP thresholds, the boss teleports to center and spawns a small orb and large orb. Priority: destroy the small orb first, then both players handle the large orb together.
Watch outDangerous mechanic — mistiming this can be lethal.

Poison Phase

After orb mechanics, the boss spreads poison across the map. Poison follows players' footsteps. Stay together, move slowly and carefully, and avoid covering the entire arena with poison.
Watch outDangerous mechanic — mistiming this can be lethal.

Other Mechanics

Blue Orb (Small)

The boss raises its head and spits out orbs. Blue orbs have a red exclamation mark above them and require only 1 player. If ignored, they grow into purple orbs. Each player should handle one blue orb when possible.

Purple Energy Gauge

Getting hit by the boss fills your purple energy bar. When full, the boss spawns another orb. Minimize damage taken to prevent extra orb spawns.

Tips

  • Stay airborne as much as possible to avoid shockwaves
  • Handle blue orbs quickly before they become purple orbs
  • For large orbs, position two players on opposite sides
  • Keep moving when grabbed by tentacles to stretch and break them
  • During poison phase, stay together and move carefully to preserve safe arena space
  • After poison phase, boss repeats basic attacks and orb mechanics

Abyssal Warden (Left - Hard)

The harder Boss 2 on the left side. Features devastating shockwaves, ground cracks with fire eruptions, and a unique blind mechanic requiring team coordination.

Combat Phase

6 Dangerous6 Mechanics7 Tips

HP: 100% 300x

Fight through various attack patterns while managing the spotlight and blind mechanics.

Shockwave

The boss releases multiple waves outward. Jumping does NOT avoid it - the hitbox is very high. Must dodge sideways.
Watch outDangerous mechanic — mistiming this can be lethal.

Ground Cracks

Cracks appear on the ground. After a short delay, fire erupts from the cracks. Damage is extremely high (almost one-shot). Move away immediately when you see cracks forming.
Watch outDangerous mechanic — mistiming this can be lethal.

Tracking Fireballs

After ground cracks appear, fireballs chase players similar to Claudius mechanics. Keep moving to avoid.
Watch outDangerous mechanic — mistiming this can be lethal.

Tentacle Pit

The boss slams the ground twice, then tentacle pits appear under players. Never stand still - keep moving constantly.
Watch outDangerous mechanic — mistiming this can be lethal.

Spotlight Mechanic

The boss stands still and shines a cone-shaped light. If hit, the player becomes blind and the boss triggers a one-shot mechanic. If nobody gets hit, the mechanic is skipped entirely.
Watch outDangerous mechanic — mistiming this can be lethal.

Blind Mechanic

At a certain HP threshold, the boss moves forward and 4 players become completely blind while 1 random player keeps vision. The seeing player must lead teammates to the safe green circle by running and jumping repeatedly. Blind players should stay still and follow the yellow glow. After the mechanic, the boss immediately slams - move away from your position.
Watch outDangerous mechanic — mistiming this can be lethal.

Tips

  • Do NOT jump to avoid shockwaves - dodge sideways instead
  • Ground cracks deal near one-shot damage - prioritize avoiding them
  • Never stand still during tentacle pit attacks
  • Avoid the spotlight cone to skip the one-shot mechanic entirely
  • If blinded, stay still and follow the yellow glow
  • Guide player should run and jump repeatedly to be visible
  • After blind mechanic ends, immediately move away for the ground slam

DPS Check Phase (300 HP Bars)

2 Dangerous2 Mechanics4 Tips

HP: 300x 0x

At 300 HP bars, save your strongest skills for a critical DPS check with tentacle destruction and safe zone memory mechanics.

Tentacle Destruction Sequence

The boss summons 3 tentacles. Destroy Tentacle #1, follow the yellow light to Tentacle #2, then follow the yellow light to Tentacle #3.
Watch outDangerous mechanic — mistiming this can be lethal.

Safe Zone Memory

After destroying the third tentacle, the boss uses a memory mechanic with 4 attacks total. Watch the safe zones carefully and remember the order. Tip: Move into the first safe zone immediately so you only need to remember the remaining 3.
Watch outDangerous mechanic — mistiming this can be lethal.

Tips

  • Save your strongest skills for when boss reaches 300 HP bars
  • Follow the yellow light between tentacles quickly
  • For safe zone memory, move to the first safe zone immediately
  • This reduces memorization from 4 zones to 3

Stone Colossus (Right - Easy)

The easier Boss 2 on the right side. Features falling stone pillars, player separation mechanics, and red shield phases.

Stone Pillar Phase

2 Dangerous3 Mechanics6 Tips

HP: 100% 0%

Manage falling stone pillars and handle player separation mechanics.

Dangerous Mechanics

Falling Stone Pillars

The boss summons stone pillars from the sky. Destroy the moving pillars to create safe zones. Being outside the safe zone means instant death.
Watch outDangerous mechanic — mistiming this can be lethal.

Player Pull Mechanic

The boss randomly selects 2 players and pulls them into a separate area. Outside team: Kill the 2 boss clones as fast as possible. Inside team: Wait for first shockwave from central orb, then collect orbs of the same size, absorb the central orb, and return to main arena.
Watch outDangerous mechanic — mistiming this can be lethal.

Other Mechanics

Red Shield Mechanic

When the arena turns red, the boss becomes immune and many red orbs appear. Guide lightning into the red orbs to destroy them. If all are destroyed, boss shield breaks for a free DPS window. If not all destroyed, no wipe occurs but boss keeps shield and DPS opportunity is lost.

Tips

  • Prioritize destroying moving pillars to create safe zones
  • Outside team should burst down clones quickly during player pull
  • Inside team: wait for first shockwave before collecting orbs
  • Collect orbs of matching sizes inside the separated area
  • During red shield phase, focus on guiding lightning to destroy all red orbs
  • Missing red orbs won't wipe but wastes a DPS window

Emotion Devourer

Final boss featuring a unique emotion meter system. Players must manage purple (Instinct) and white (Rational) buffs to control the boss state. Locking the boss into Rational state makes the fight significantly easier.

Emotion Management Phase

2 Dangerous6 Mechanics6 Tips

HP: 100% 700x

Control the boss's emotion state by managing crystal buffs. Push boss to FULL WHITE (Rational) state for easier combat. You MUST lock the boss into Full White before 950 HP bars.

Dangerous Mechanics

Purple Buff

One of your four basic skills is selected. You must hit the boss with that specific skill or suffer heavy HP loss that can kill you.
Watch outDangerous mechanic — mistiming this can be lethal.

Instinct State Attacks

Double wide fire sweep, flying fire breath, continuous fire pillar attacks. Avoid standing directly in front of the boss.
Watch outDangerous mechanic — mistiming this can be lethal.

Other Mechanics

Emotion Meter

The large bar in center shows boss emotion state. Purple = Instinct, White = Rational. White and Purple crystals in arena grant corresponding buffs when destroyed. Boss is much easier in Rational State (Full White) - stands still and easier to attack.

White Buff

After using a basic skill, it becomes locked for around 5-6 seconds. White buff hitting the boss pushes it toward White (Rational) state.

Crystal Buffs

Purple Crystal = Purple Buff, White Crystal = White Buff. Crystals continuously respawn. Boss attacks can also apply color buffs. Always check your buff color. Try to stay White Buffed before dealing damage to push boss toward White state.

Rational State Attacks

Four-line fire attack, falling rocks, tracking projectiles. Boss stands still making it easier to attack.

Tips

  • Always push boss to FULL WHITE at start and after every mechanic
  • Lock boss into Full White BEFORE 950 HP bars - after that, boss enrages until 700 mechanic
  • After 950 HP, White state can no longer be locked until 700 mechanic
  • Stay White Buffed before dealing damage to push boss toward Rational state
  • In Rational state, boss stands still for easier attacks
  • Avoid standing in front of boss during Instinct state

700 HP Mechanic

1 Dangerous1 Mechanic4 Tips

HP: 700x 400x

Critical team teleport mechanic requiring proper crystal management.

700 Mechanic Sequence

Team is teleported. Steps: Wait near the White Crystal → Destroy the White Crystal → Enter the teleport → Back in main arena, stand on a White tile → Counterattack when prompted. Result: Boss is broken for 15 seconds and HP locked at 600.
Watch outDangerous mechanic — mistiming this can be lethal.

Tips

  • Position near White Crystal before the teleport
  • Destroy White Crystal then enter teleport quickly
  • Stand on WHITE tile in main arena
  • Counterattack when prompted for 15 second break window

400 HP Mechanic

1 Dangerous1 Mechanic5 Tips

HP: 400x 100x

Similar teleport mechanic but with reversed crystal priority.

400 Mechanic Sequence

Steps: Destroy ALL White Crystals → DO NOT touch Purple Crystals → Destroy the Purple Crystal → Enter the teleport → Back in arena, stand on a Purple tile → Counterattack. Result: Boss is broken for 15 seconds and HP locked at 300.
Watch outDangerous mechanic — mistiming this can be lethal.

Tips

  • Destroy ALL White Crystals first
  • DO NOT touch Purple Crystals until White ones are gone
  • Then destroy the Purple Crystal and enter teleport
  • Stand on PURPLE tile in main arena
  • Counterattack for another 15 second break window

100 HP Mechanic (Final)

1 Mechanic4 Tips

HP: 100x 0x

Simplified final mechanic - no buff color management needed.

100 Mechanic Sequence

No need to care about buff color. Simply stand on the correct tile and counterattack. Result: Boss is broken for 15 seconds. Final phase ends and boss is defeated.

Tips

  • Buff color doesn't matter for this mechanic
  • Just stand on the correct tile
  • Counterattack for the final 15 second break
  • Finish the boss during this window